How to get started with royal icing transfers
Icing transfers are edible decorations that can be used to add depth and dimension to sugar cookies, think of them like custom, homemade sprinkles! They’re simple to make, durable, and can be stored for future use. In this blog post, I’ll spill the sprinkles about my favorite tips & trips for making royal icing transfers.
What’s the benefit of icing transfers?
Besides saving you time, icing transfers give you better control over quality and consistency. Shapes can be created more uniformly, and discarded if they’re not up to snuff. Icing transfers are created off of the cookie canvas, which de-risks you from having to start over and scrape your cookie if a mistake is made.
How are icing transfers made?
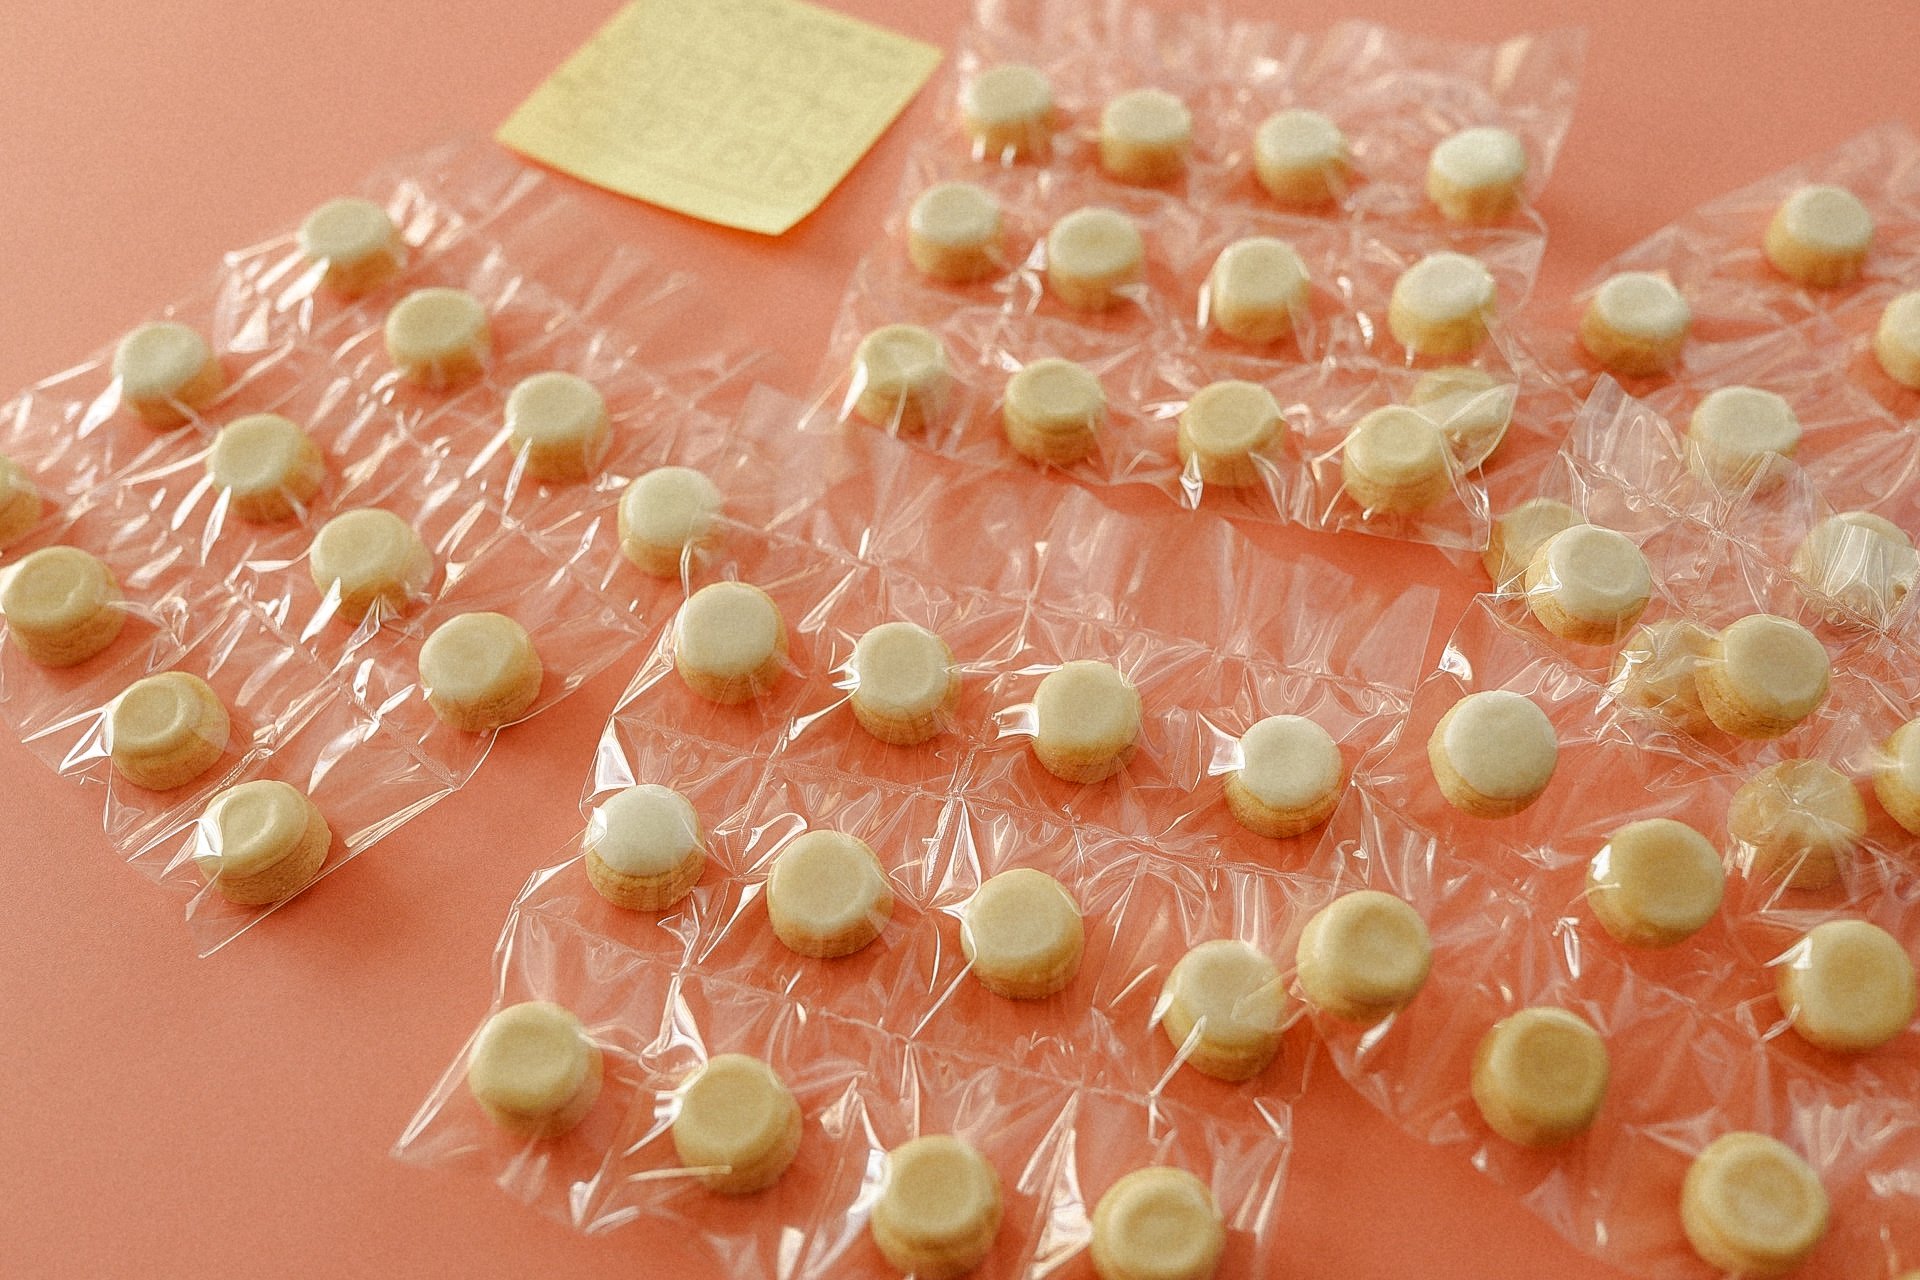
Icing transfers are made by piping royal icing onto non-stick surfaces like parchment paper or sheet protectors and allowing them to fully dry before adding them to your cookie. Some more advanced cookiers use icing transfer templates to improve their consistency.
Pictured above is an example of an icing transfer sheet I tested out. What I liked most is how these sheets maximize on the amount of transfers I can fit onto one page.
What do I need to get started?
Parchment paper or sheet protectors
Transfer template (optional)
Royal icing (medium or firm consistency)
A fan or dehydrator
Sugar scribe or toothpick
Tape
What are some easy tips for making icing transfers?
Tape down your surface
The first few times I tried icing transfers, I didn’t tape down the parchment paper and that really burned me later. By taping the surface down, you prevent the bottom from curling.
I have a million rolls of painters tape, so that’s what I’ve been using though I am certain there are other options out there that might be even better.
Use medium or firm icing
In the past, when my icing has been too thin it’s caused inconsistent results with transfers as well as color bleeding. Below is an example of a lesson learned the hard way!
If you look closely, you’ll see some color bleed on our astronaut.
If you look even more closely, you’ll see a small crack in my astronaut, too. I was impatient and didn’t wait long enough before I tried to move them….leading to my next tip:
Let transfers fully dry!
It’s hard to be patient while waiting for transfers to dry but, believe me, it’s worth the wait. Drying time depends on a few factors like size, thickness, and humidity.
For example, the image below shows two different sized transfers. The one on the left took a few hours to dry, while the one on the right had to sit for at least 24 hours.
Transfers that are smaller are often more durable than larger transfers like the one on the right. Use caution when removing transfers from your surfaces.
How do I decide what should be an icing transfer?
When I look at my cookie designs on paper, I try to think of visual elements that I can bring attention to by creating some depth and dimension. Finding simple, repeatable elements is usually a good place to start.
The image below leaf transfers I made for a previous set of cookies. You can see even from this initial exploration of icing transfers, it took me a minute to figure out my consistency. The beauty of transfers, I don’t have to use every single one. I can choose the best ones to include in my design.
I made two batches of these leaves, one large like this and one sheet with leaves about half the size. Below, you’ll see an example of how I used the leaves to create depth. Admittedly, the mushrooms are my favorite.
Of course, I could have piped these decorations directly on the cookie, but using transfers allowed me to work head and maximize my time so I wasn’t rushing towards the end of this batch.
Icing transfers can be as simple or as complex as you like. I’ve found better success by starting simple and working my way up. Even now, I’m no expert but I’m happy to share what I’ve learned so far in case it might help you get started.
Hope this helps. ❤️


