5 Decorated Sugar Cookie Tips & Tricks!
Before I kick off this blog post, I’m going to mention that I am not a professional baker— I’m just a hobbyist sharing what I’ve learned so far.
There, now that we’ve got that out of the way, let’s get to the good shit.

5 Tips & Tricks for killer cookies
Find yourself a good roll out sugar cookie recipe. The texture should be soft yet strong enough to retain crisp edges while baking.
I recommend baking the recipe at least once exactly as written to set the standard of what the recipe will produce.
Write down any notes you have about the recipe. We’re the cookies dry? Not enough flavor? Keep track of your feedback so that you can adapt your recipe to fit your ideal flavor/texture profile.
If you’re looking to expand your feedback loop, ask friends or family to test your cookies!
Bonus tip: Freeze cut outs in a single layer on a baking sheet for 10 minutes before baking for additional shape retention!
Find a solid royal icing recipe and don’t skimp on the techniques.
Note: Royal icing shouldn’t break your teeth or have a nasty chemical after taste.
The best royal icing recipes use meringue powder, some kind of corn syrup, or a combination of both. This produces a hard-enough surface to decorate on while still having a soft bite overall.
Don’t over-mix your icing! (Causes icing to be too hard!)
Use clear flavoring to keep icing white.
Mix colors in by hand and let the colors develop for at least 30 minutes. This prevents over saturation which leads to color bleed.
When it comes to decoration, start simple and work your way up.
One of the most beneficial techniques I’ve learned is to how flood icing on to a cookie.
Start by creating an outline of your cookie using a medium-firm icing.
Immediately following that, flood the cookie from either the outside-in, or inside-out technique working in a circular motion.
Use a toothpick to fill any gaps, spread out the icing to thinner areas, or to pop air bubbles that appear.
Allow the icing to dry until hard, at minimum 1 hour under a fan or dehydrator. Overnight if air drying.
Make a plan ahead of time.
The more you plan ahead, the faster you can work.
Trace cutters onto a piece of paper and sketch out your ideas for decorating. This will help you understand which steps are needed to decorate the cookie and which order they should happen in.
Plan your color palette ahead of time. Use Pinterest to pick a color palette that best fits the cutters you’ve chosen.
When it comes to color mixing, spend time researching diagrams based on the gel coloring you’ve selected. Colors vary by brand.
Get all of your supplies ready head of time so that you’re not hunting down tools in the moment.
Freeze fully decorated cookies to save yourself from last minute all-nighters!
To do this, it’s best to use a heat sealer ($35) and sealable bags ($10). I’m not sure if Ziploc bags will work but I’d imagine they’d be useful in a pinch.
Bag and freeze cookies standing up in an air-tight container and allow them at least three hours to come up to room temp. Do not stack cookies on top of each other.
Added Bonus: Freezing cookies produces additional moisture for your cookies.
For the sake of keeping my blog post readable, I’ve separated out the visual content from the text. Below you’ll see some visual examples of the tips above.
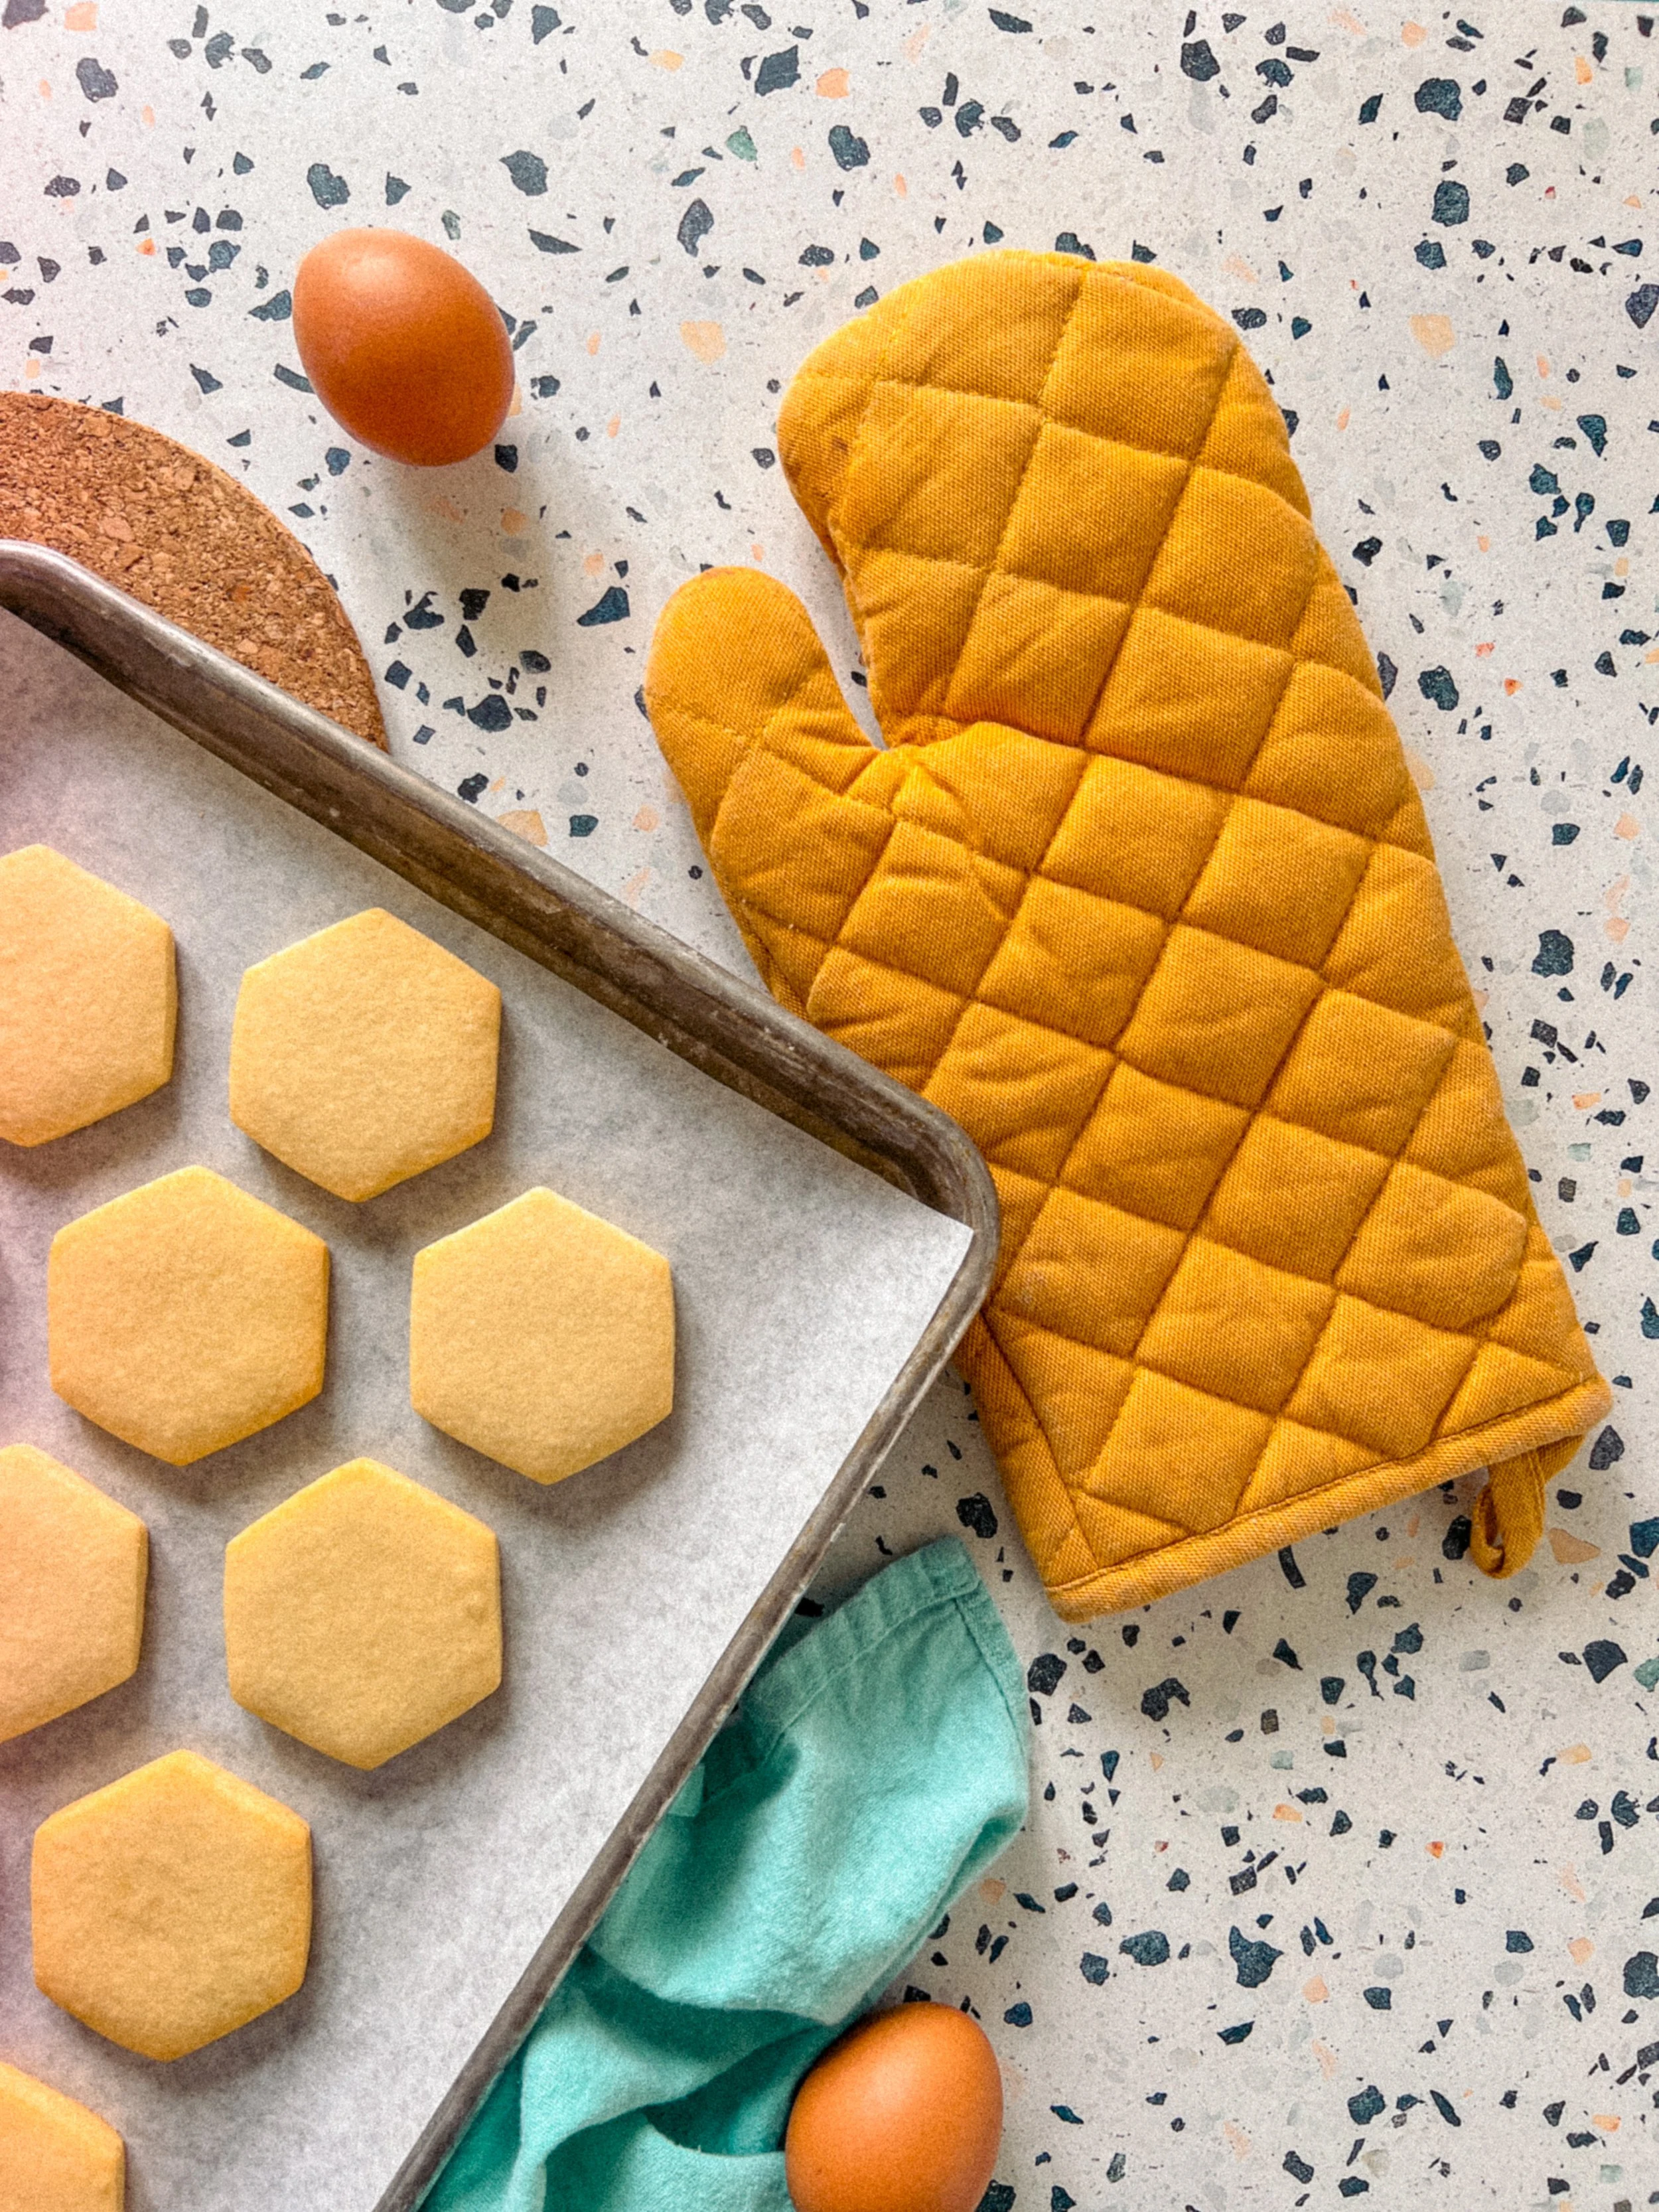
A good roll out sugar cookie recipe should retain the shape of the cutter with crisp edges.
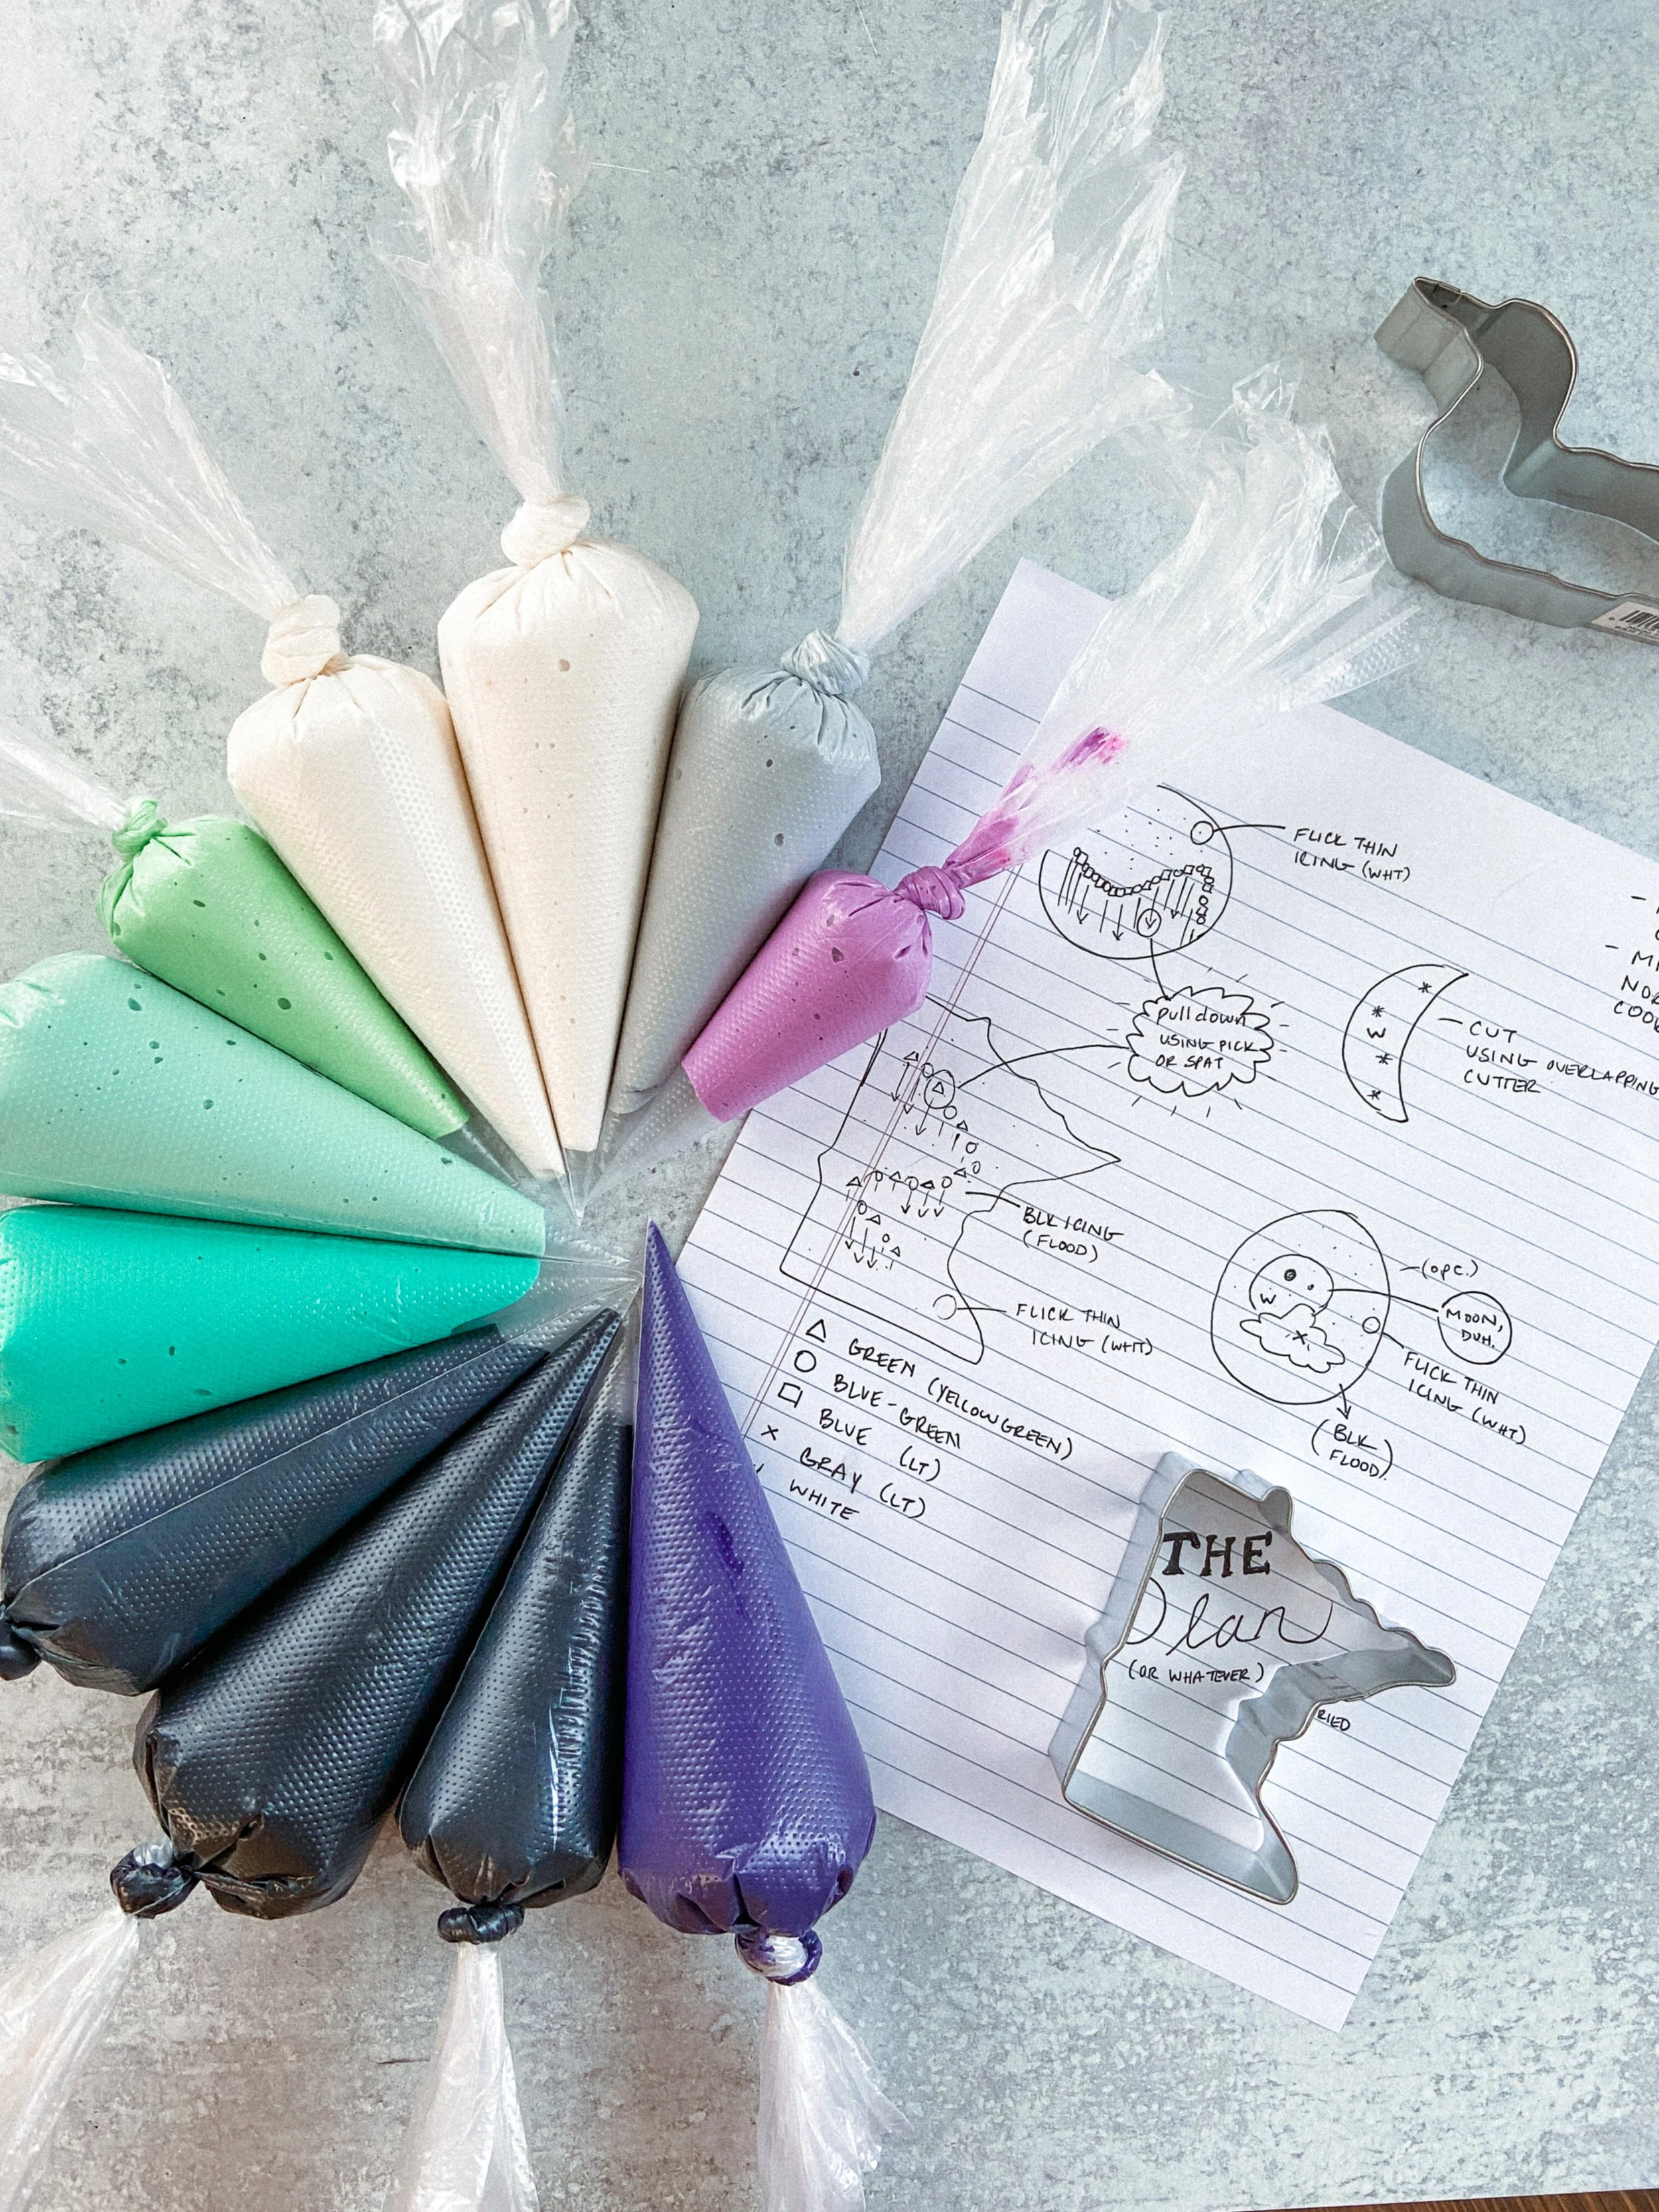
Make a plan (and stick to it!) to speed up the cookie decorating process.
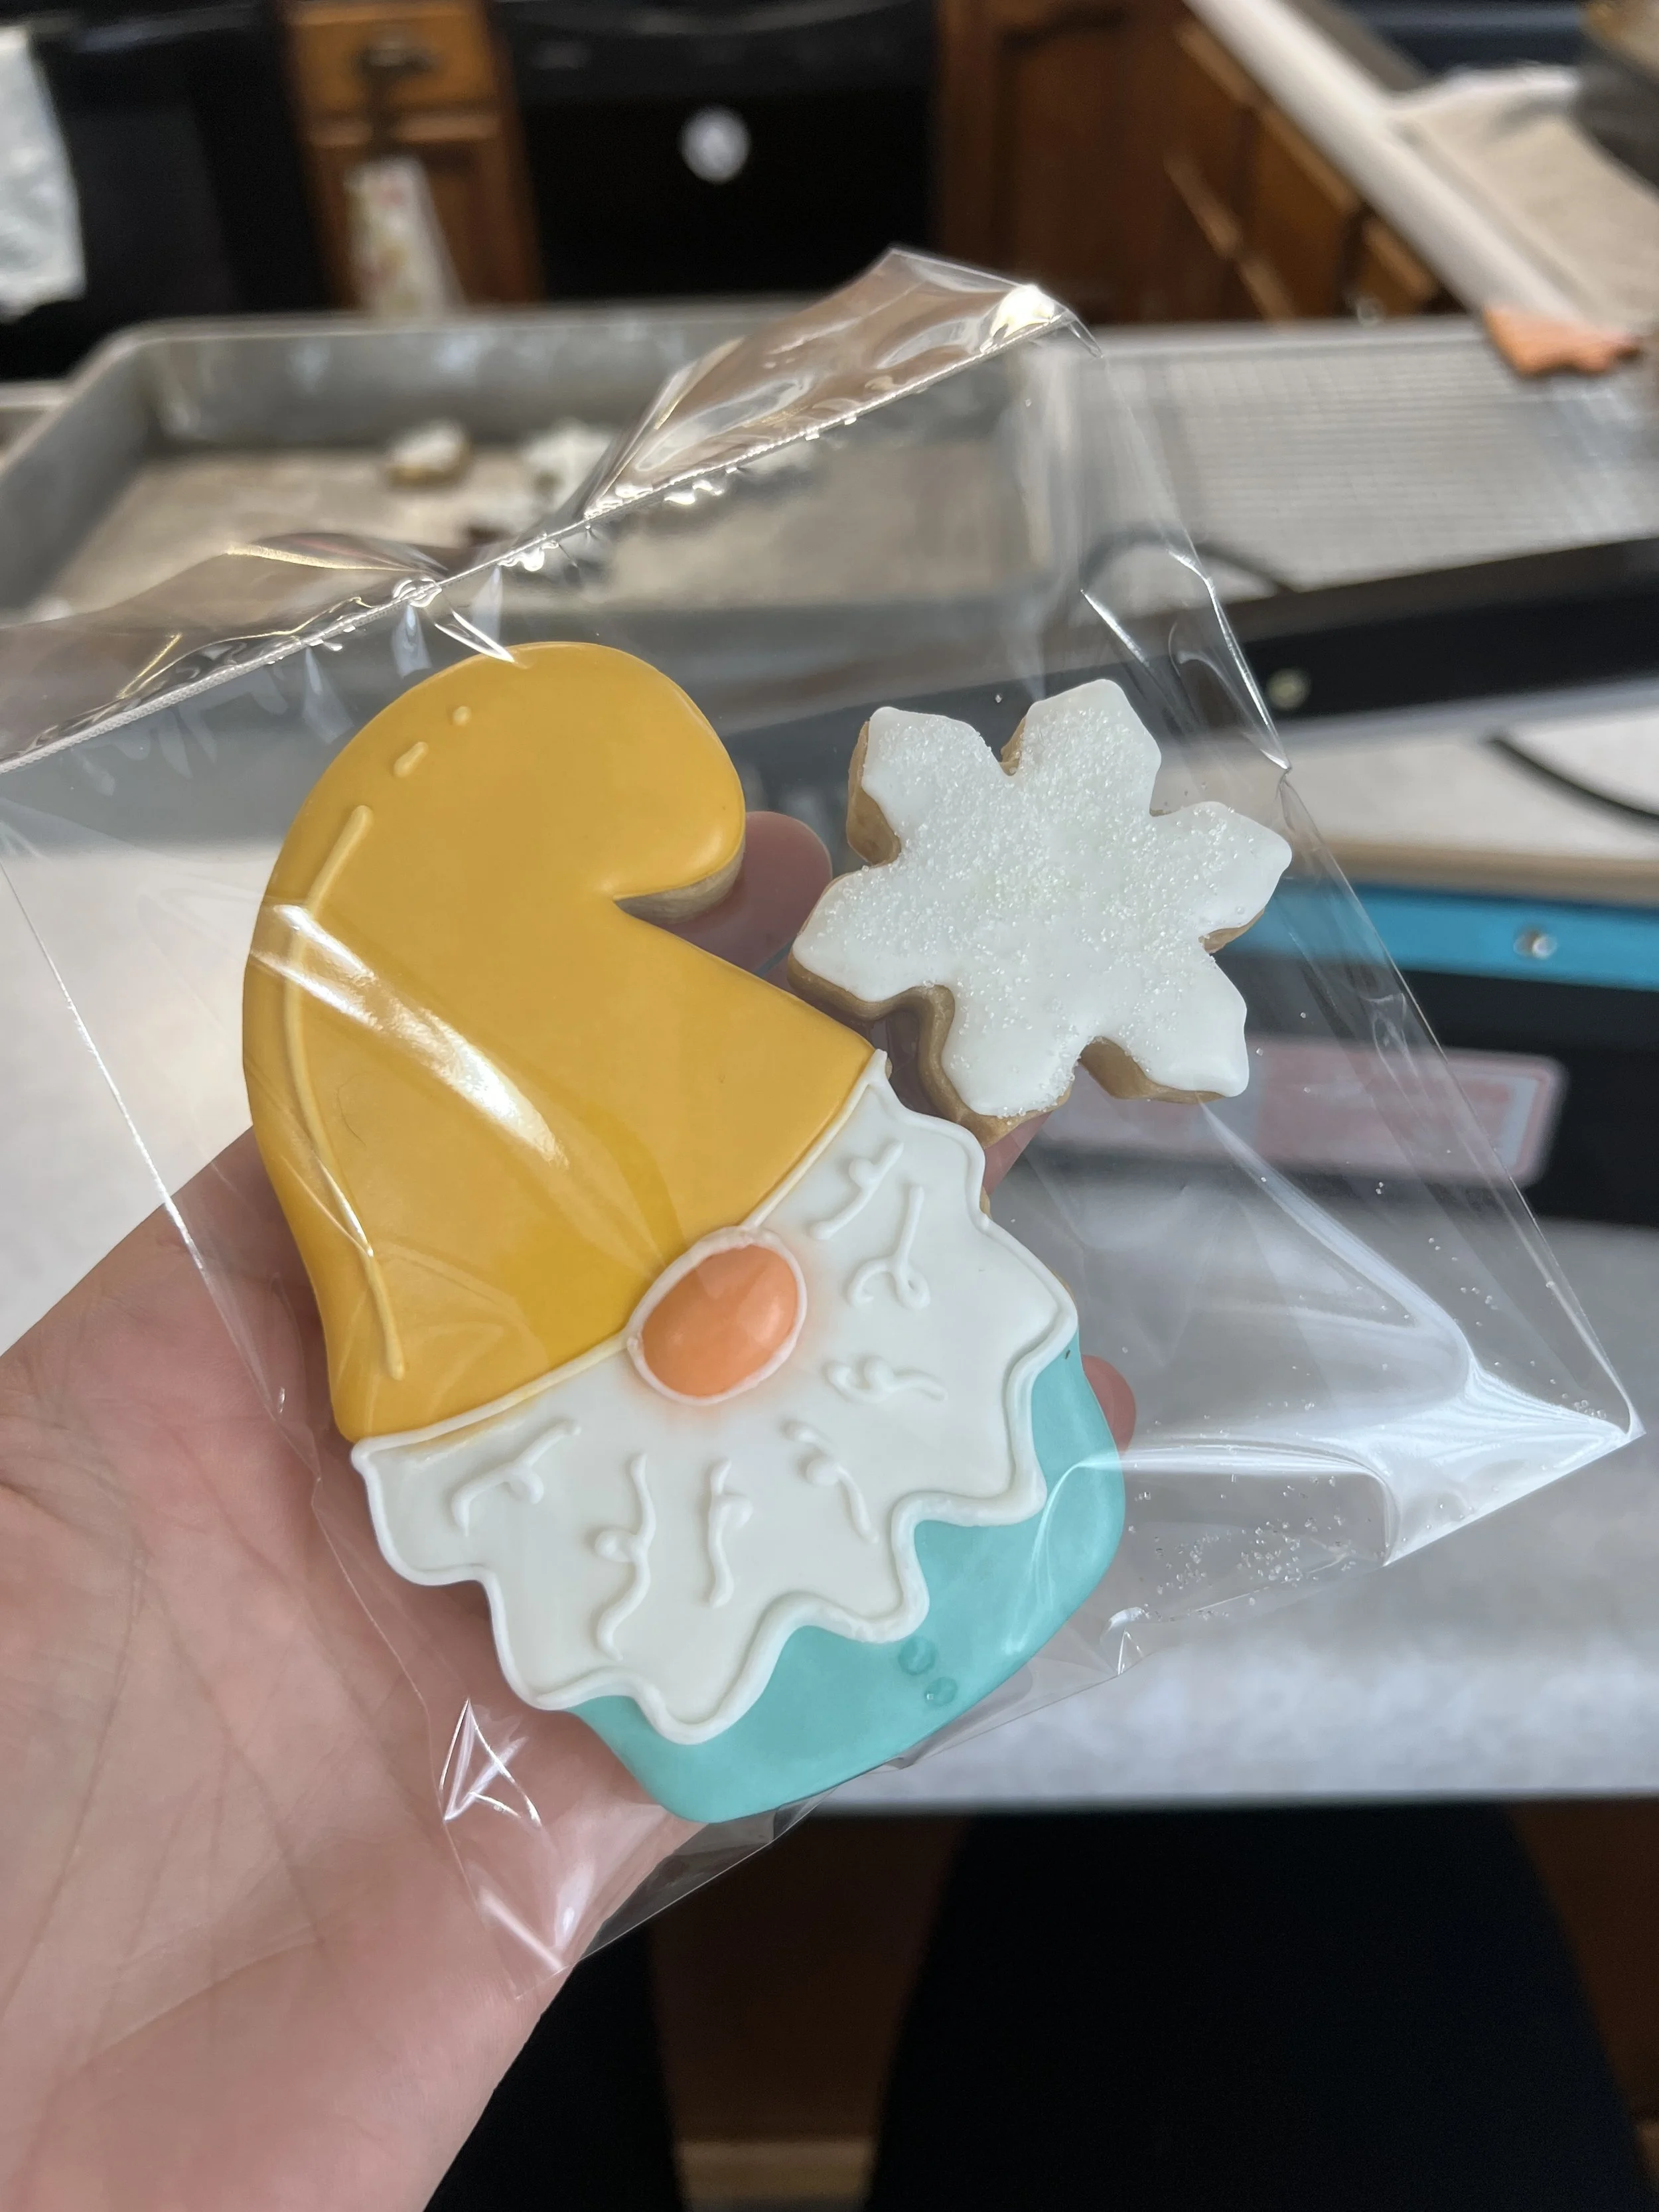
Use a heat sealer to seal your cookies to prepare them for freezing & delivery! Note: cookies can thaw out and remain in the same packaging.

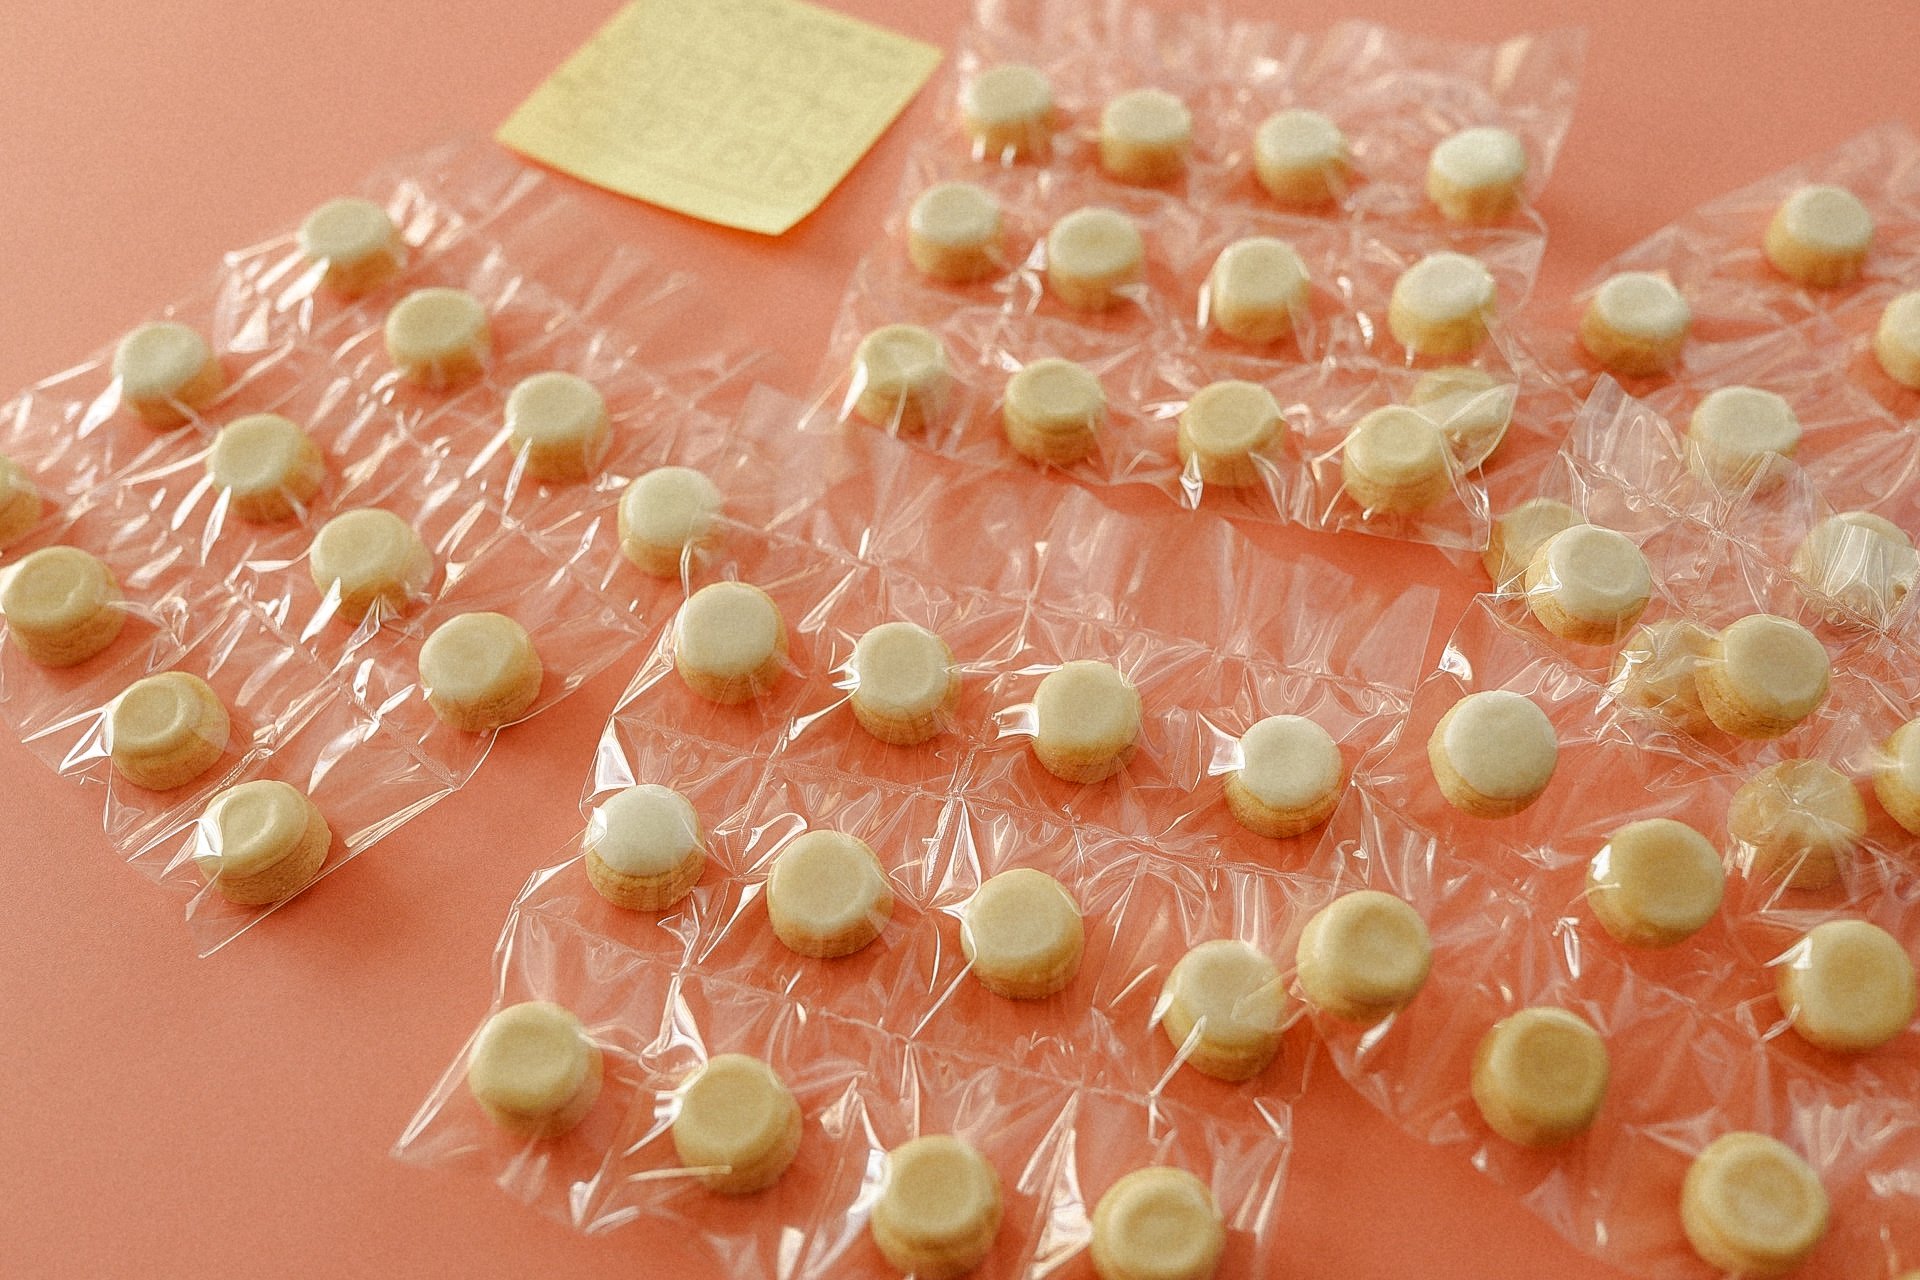
Create button cookies with any extra dough so that you can practice layering and filling cookies. It’s easier to build muscle memory with smaller cookies before expanding to larger, more complicated ones.
Aright, that’s it. Go forth and be cool or stick around to check out these other how-to blog posts.