How to make a cookie puzzle
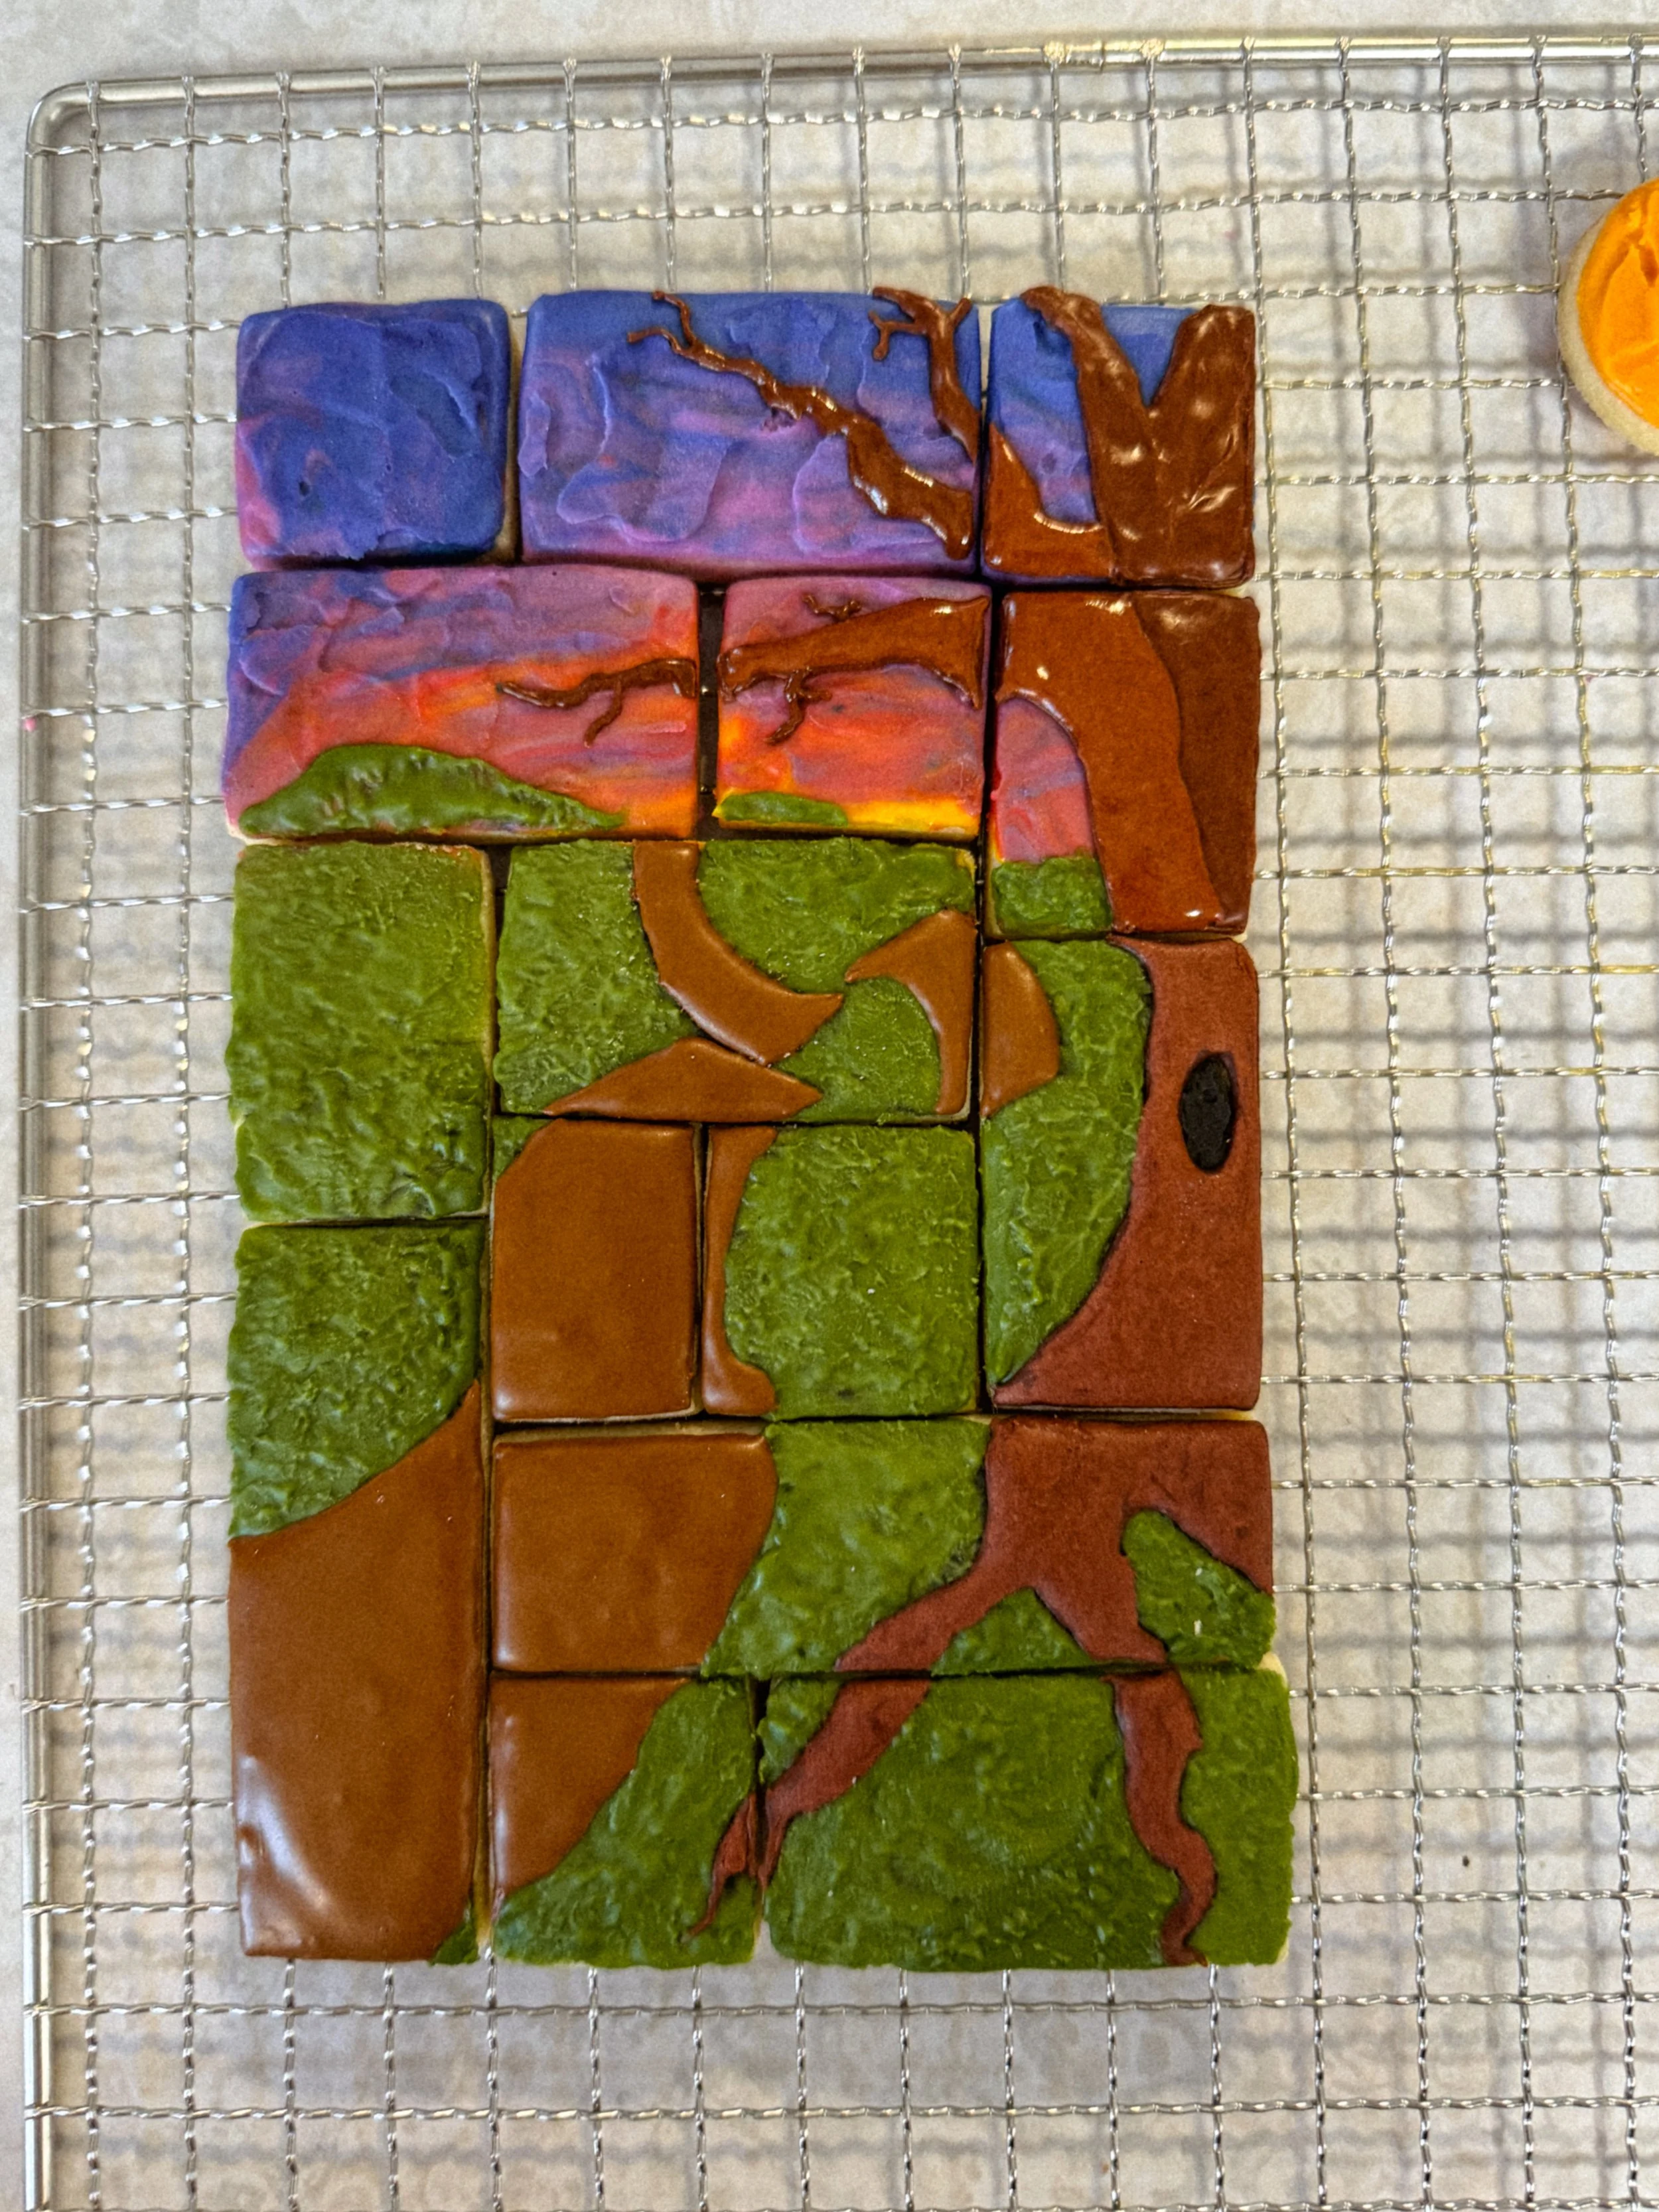
Decorated sugar cookie puzzles are a great interactive dessert to enjoy with friends or family.
Not sure where to start? Don’t panic.
In this past blog post, you’ll find links to resources like roll-out sugar cookie and royal icing recipes I’ve actually tried and had good luck with. And, as a bonus, some tips and tricks about decorating sugar cookies. I’ll admit, it’s a long one, but it’ll save you time in the long run, I promise. ;)
Now, let’s get to business.
High-level, how do I make a cookie puzzle?
Start by drawing out your puzzle pieces on paper. Then, start working on your design and measure the total size. Roll out your dough between parchment paper and notch out the measurements so you know where to cut. Once the outside excess is removed, you can begin cutting your individual pieces.
If you plan it just right, you won’t have to remove the cutouts from the parchment and can transfer directly to the freezer for 10 minutes prior to baking. Break apart the puzzle pieces and bake them (with plenty of space in between, again just trust me). Once removed from the oven and cooled, use the zester to smooth out the edges the best you can. Be careful though, don’t break your cookie.
If you have an edible marker, draw out the design on your cookie to make it easier to visualize. Doesn’t have to be perfect, but it should give you a sense for how the design fits in the space. Begin decorating your cookie (it’s sort of like paint by numbers, if you think about it) and check the alignment early and often! It’s easy to fix little mistakes on the fly when you work from cookie to cookie.
Well, that’s pretty much it!
What do I need to get started?
A plan (lol)
Toothpick
Ruler
Pastry cutter or thin knife
Cookie dough (Rolled to 3/4”)
Royal Icing (prepped and ready to go!)
Edible marker (optional)
A zester (optional)
My plan
The design I chose is a nod to this recurring nostalgic Halloween feeling I get every fall that I can never quite put my finger on. I knew I wanted to draw the viewer in using a path and to force some perspective with a giant tree that pulls you back through the piece. Each little detail would either be another cookie to create a 3D effect, an icing transfer, or some type of direct design.
We can all laugh at my drawings. It’s okay.
The edge of each cookie was filed using a zester so that they could fit together as tightly as possible. If you zest too hard, you will break your cookie.
I draw out my design using an edible marker.
Once the base layer dried, I was able to add texture using the same color but applied with a brush. From there (once everything is dry), I added additional elements to the design like the icing transfers, direct designs, and 3D cookies.
Here is the final design!
Okay, that’s it. Go make something cool or stick around for more free content!


